


The goal, when it comes to cutting chicken breast into tenders, is getting neat, even pieces that cook evenly and taste good. This evenness and consistency in the cut size is what makes your chicken tenders stand out, whether you’re preparing crispy chicken strips, stir-fry, or meal-prepping for the week.
The idea is to achieve long, even pieces whose juiciness and tenderness are retained when cooked.
The good news? You don’t need professional training. All it takes is a sharp knife, some patience, and the proper technique, and you will be able to efficiently and easily cut chicken breast into chicken tenders while in the comfort of your home.

How to Cut Chicken Breast Into Tenders: Step-by-Step
There are four very important steps when it comes to cutting chicken breast into tenders: you start by prepping the chicken for cutting, then identify the grain, cut against the grain, and trim for evenness. If necessary, decide what to do with the tenderloins.
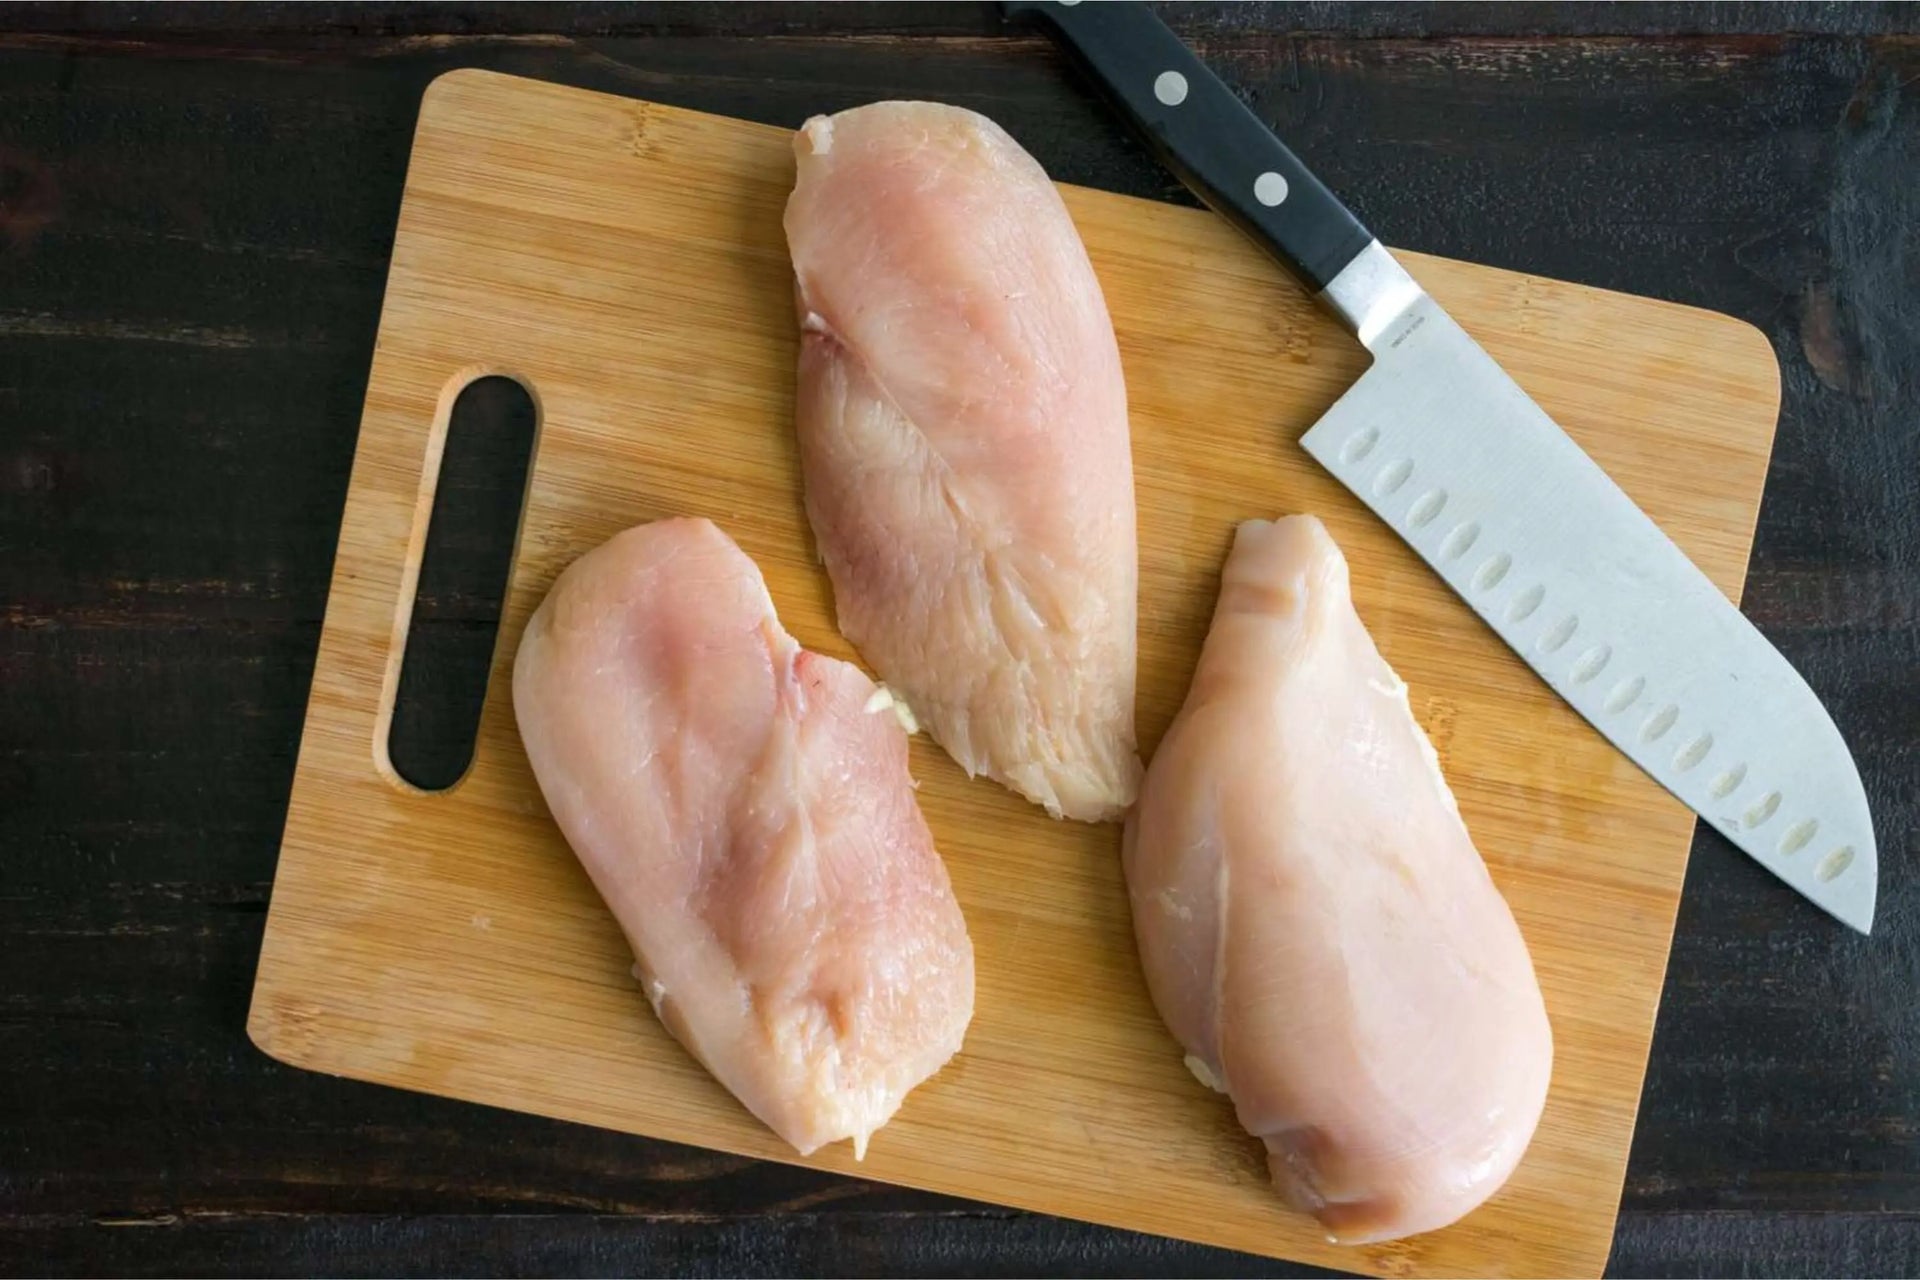
Step #1: Prepare the Chicken
Begin with fresh or completely thawed pieces of chicken breasts. If frozen, let them defrost fully in the refrigerator. Cutting partially frozen chicken is not a good idea, as it tends to be slippery and more difficult to cut safely.
Then lay the chicken breast flat on a clean cutting board. Pat it dry with a paper towel; this will ensure the chicken doesn’t slide around while you cut.
If you are working with skinless chicken (which most people are), you’re already one step ahead.
Step #2: Identify the Grain
Being able to identify the grain is one of the most important steps when it comes to cutting chicken breast into tenders. Cutting against the grain shortens the muscle fibers and therefore makes it tenderer in your mouth when you eat.
Here’s what to do:
Examine the chicken breast and see the lines on the meat. Important note: These are muscle fibers, also called muscle. When figuring out how to cut chicken breast into tenders, it’s ideal to cut against these lines. Once you identify the grain, lay your knife perpendicular to it.

Step #3: Cut Against the Grain
Cut the chicken breast into long strips, around 1 to 1.5 inches in width. Try smooth, even strokes: Use a sharp knife to ensure no sawing is necessary.
Take your time here. Rushing only creates ragged pieces and makes it harder to achieve even cooking.
Cutting chicken breast against the grain ensures that the tenders remain juicy and do not get springy after cooking.
Step #4: Trim for Evenness
It is normal, when cutting chicken breast into tenders, that some pieces will be thicker than others after cutting. Here’s where trimming comes in.
Grab your knife and trim slightly thicker areas so the tenders are relatively uniform in size.
This little bit of effort takes about a minute, but it makes a world of difference when you’re cutting chicken breast into chicken tenders. Even thickness equals even cooking, no dry edges or raw centers.

Step #5: Handling the Tenderloins
Tenderloins are the small strips attached underneath most chicken breasts.
There will be a small amount of fat on the surface that you can pull off gently with your fingers or slice off if you wish.
These pieces are already perfect tenders, don’t throw them away. Trim a little bit of fat, remove whatever membrane is left, and they are ready to cook.
Tips for Cutting Chicken Breast Into Tenders
Below are a few simple tips that make the process effortless each time.
- Keep your knife sharp: A dull knife tends to get stuck and tear the meat more than it slides through it.
- Cool, slightly before cutting: Cold chicken is easier to contain a firmer texture.
- Take your time: Patience will pay off in good-looking tenders.
- Clean as you go: Clean your board and knife off to prevent slippery surfaces.
- All the same size: It is useful to do this because when you are pan-frying or baking chicken, it allows for even cooking.
If you spend most of your time in the kitchen, learning how to cut a chicken breast into tenders will instantly save you time and make your meals better.

What Are The Best Knives for Cutting Chicken Breast?
A proper knife makes a world of difference, and this is where Kyoku truly shines. Kyoku Japanese chef knives are designed for clean, precise cuts, making them ideal for cutting chicken breast into tenders without tearing or shredding the meat.
Why Kyoku Knives Work So Well
- Blades made of high-carbon stainless steel with ultra-sharp edges
- Ultra-sharp blades for fast, easy cutting
- Comes with ergonomic handles that are more comfortable and less likely to break down than textured plastic handles
- Great balance to minimize hand fatigue
A Kyoku 8" Gyuto Chef Knife with Steel Silver-ion Coating or a 7" Santoku Knife is perfect for cutting raw chicken with confidence. One clean motion is all it takes, no pressure, no mess.
If you like reliable results, every time, the proper knife to buy can make cutting chicken breast into chicken tenders quickly and safely.
FAQs About Cutting Chicken Breast Into Tenders
1. How Thick Should Chicken Tenders Be When Laid Out for Frying?
Aim for about 1 to 1.5 inches wide. This size cooks through evenly and remains juicy.
2. Do I Need to Wash Chicken Before Cutting It Up?
No. Rinsing raw chicken can spread bacteria. Instead, pat it dry with paper towels.
3. Can I Slice Chicken Tenders Ahead Of Time?
Yes, you can. Keep them in an airtight container in the fridge for up to 24 hours before cooking.
4. Is It Better to Cut Chicken When Cold?
Cold chicken is easier to slice and holds its shape better.
5. What Is the Best Knife for Cutting Chicken Breast?
A sharp Japanese chef knife or Santoku knife, like those from Kyoku, offers the best control and cleanest cuts.

Final Thoughts
Once you know how to cut chicken breast into tenders, meal prep becomes faster, cooking is more efficient, and your recipes taste like they were handled by a pro. With the proper technique and a sharp Kyoku knife, you’ll have perfectly sliced chicken tenders every time.
Learn how to cut flank steak against the grain and explore some more tips for making the best of your kitchen knives.

